Oh, so much happening!
Over the last couple months some big stuff has been going on. I'm now involved in a haunted house! I get to make props!! WOO!!!
Working with new materials and enjoying every minute!
Over the last couple months some big stuff has been going on. I'm now involved in a haunted house! I get to make props!! WOO!!!
Working with new materials and enjoying every minute!
First - Sand casting.
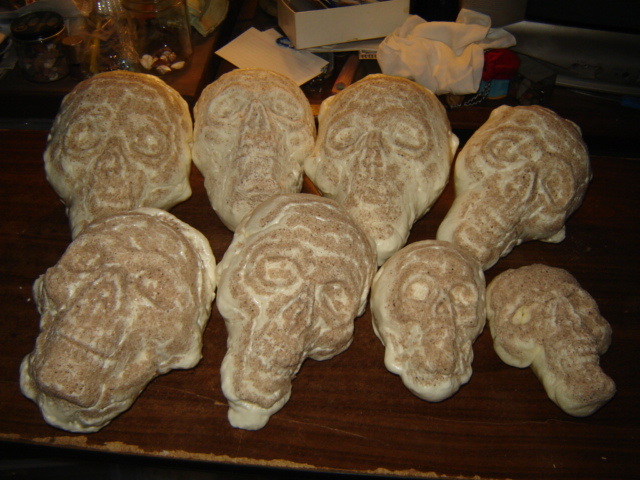
This was the first round and most certainly my usual 'learn the hard way' sort of thing. This is as clean as I could get them.
Mistake 1 - forgot to sift the sand.
Mistake 2 - Let them dry before cleaning.
With the second batch I had sifted all the sand which removed about 1/3 of it and allowed for more detailed casting.
Also, as soon as it was no longer squishy I pulled them out and rubbed the sand off. While not perfect, certainly an improvement over the above. Pictures later. We're focusing on this round for the moment. Or at least two of them.
Ultimately it didn't matter how clean or neat they were. (all but one of these were cast from the same skull, by the way. Second from the right on the bottom was a small skull-shaped ashtray while the rest were from a normal sized plastic skull)
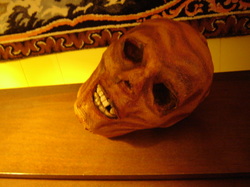
I have been a little lax with picture taking, working enthusiastically so there aren't pictures of this one in progress. It's one of the above skulls but I did little more than mix up standard paper mache goop - flour, water, and glue - and dip paper towels rather than newspaper. This worked VERY well, granting texture as well as much better flexibility.
It would have worked better if I had a had paper towels with evenly spaced quilting. These had a pattern with wider holes that came out a bit too dominant for my taste.
I have purchased a new roll to try - one without quilting. Viva, I believe is the brand. I will be testing that later today on the body of the head below and on the far right.
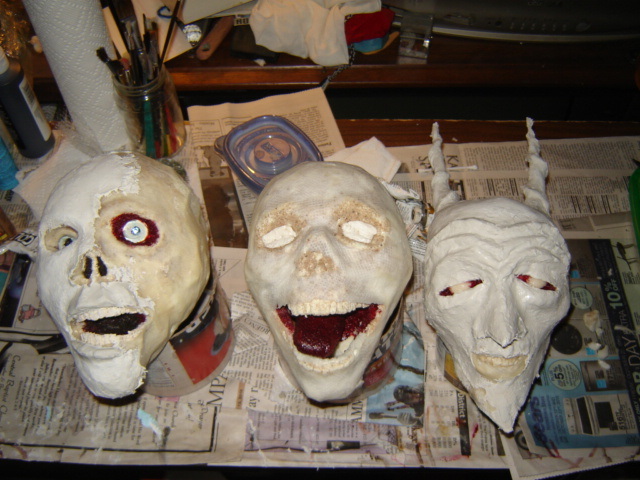
For the moment we will be focusing on the head on the far left, though. (the other two are still in progress)
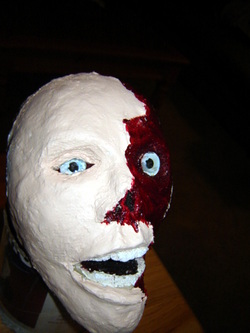
For that one I noted a skull with an odd protruding spot where the teeth met (Yay for sand and its quirks!). Logic dictated it must be removed so I ended up hollowing it out a bit. A bit of crimson paint mixed with black to darken the space a bit. The crimson untouched went around the eyes. For the eyes I used the partially flattened glass pebbles, painting a pupil and ice blue behind that.
Not quite the effect I was hoping for - but passable. On the right I left it as it was, the left I created an eyelid with paper towels and built up some skin.
After that I mixed up some paper clay using joint compound, toilet paper, glue and flour.
Using that I was able to make some nice skin and create a ragged edge.
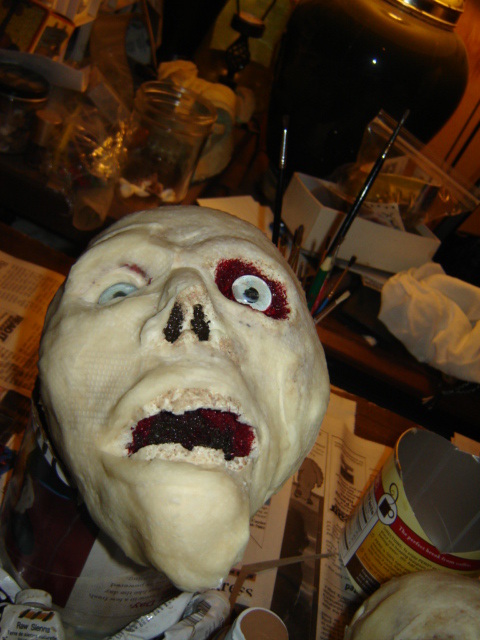

(...aaaaaand later I decided I disliked the texture and smoothed it out with more clay)

Muscles... oh, that was fun. I didn't want it to be torn down to the skull - just the top layer of skin peeled away. This meant I spent an hour or two at the computer with a fine tipped brush. Working on finding good offline reference material.
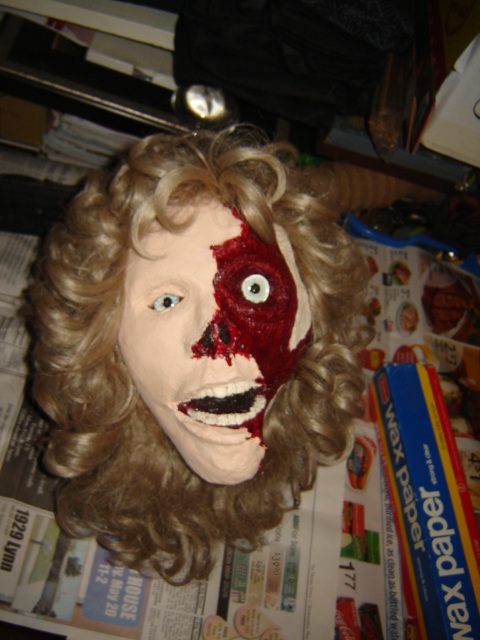
Next comes the wig!
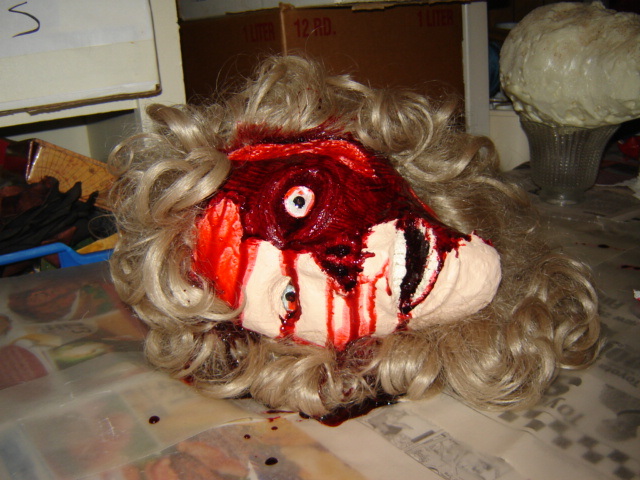
Time for some blood!!
After some looking I went for a recipe using clear Elmer's glue, about a teaspoon of red food coloring and a couple drops of blue.
The skin side is pretty heavy so I let it lay in the position it was going to most naturally and started pouring over the wound.
After some looking I went for a recipe using clear Elmer's glue, about a teaspoon of red food coloring and a couple drops of blue.
The skin side is pretty heavy so I let it lay in the position it was going to most naturally and started pouring over the wound.
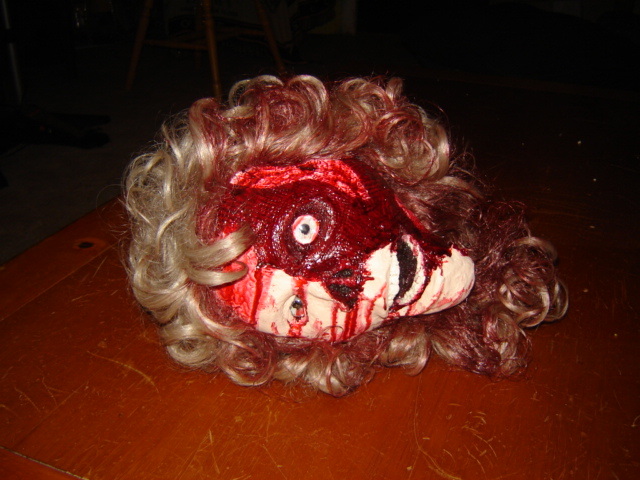
A bit more blood to mess up those curls and she's done! ^_^
 RSS Feed